In this article, we will discuss in details about the Computer Vision, How to use Computer Vision using Cognitive Service, How to create a cognitive services using Azure, How to configure the Key and Endpoint for your Cognitive Service, How to use the computer vision service using to analyse an image, How to test the sample image, How to analyze image feature
In this article, we will see the following
- Overview of Computer Vision
- How to use Computer Vision using Cognitive Service
- How to create cognitive services using Azure
- How to configure the Key and Endpoint for your Cognitive Service
- How to use the computer vision service using to analyze an image
- How to test the sample image
- How to analyze image feature
Prerequisite
- Azure Subscription
- Jupyter Notebook – Latest version
Overview of Computer Vision
How to create cognitive service using Azure
You can learn how to create a cognitive service using the Azure portal in the step by step procedure as follows.
Open the browser and go to http://portal.azure.com/ website. You can enter the Microsoft Azure registered email id and click the Next button.

You can enter the password and click the Sign In button.

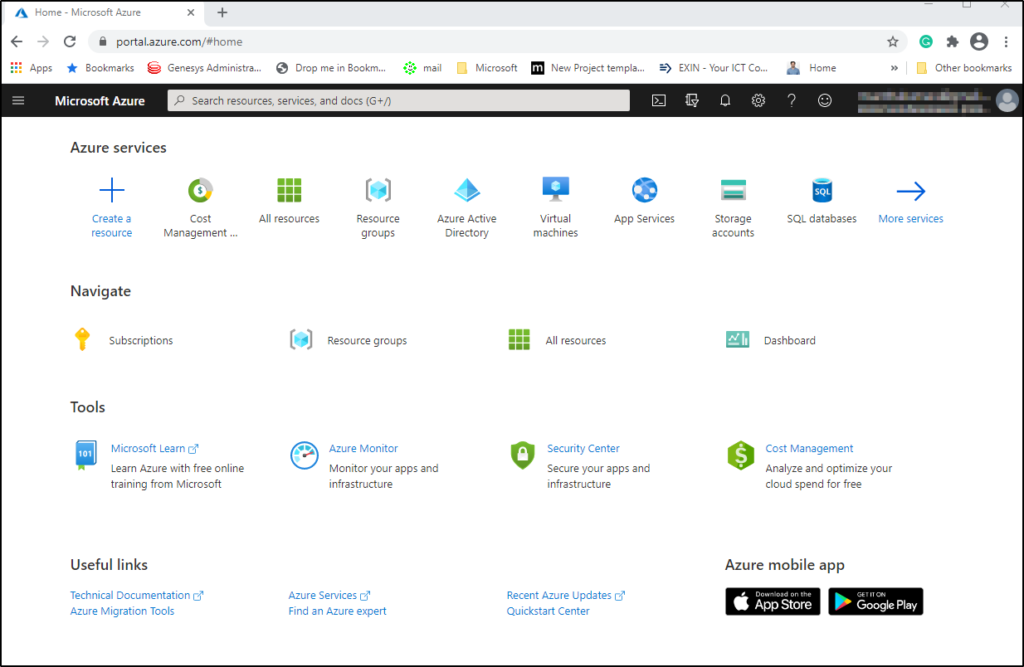
After successfully logged in the azure portal, you will be redirecting the Azure portal home page.
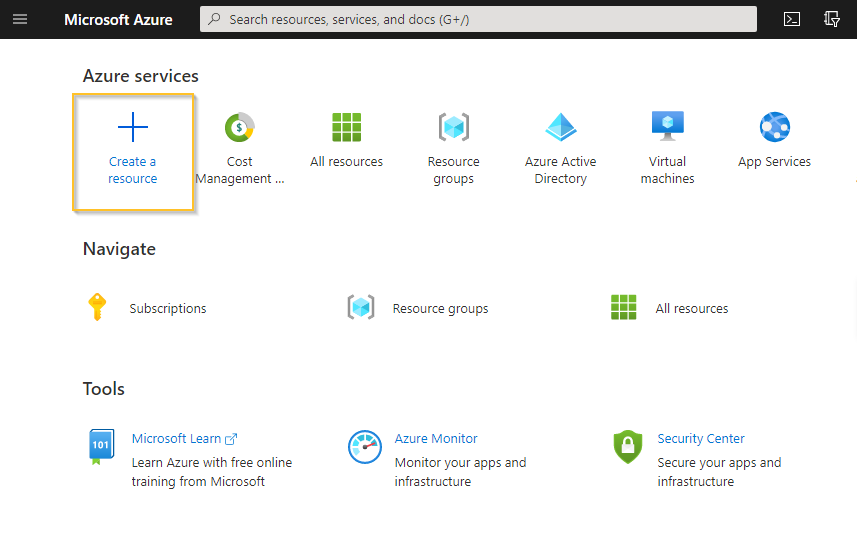
You can click the + Create a resource button
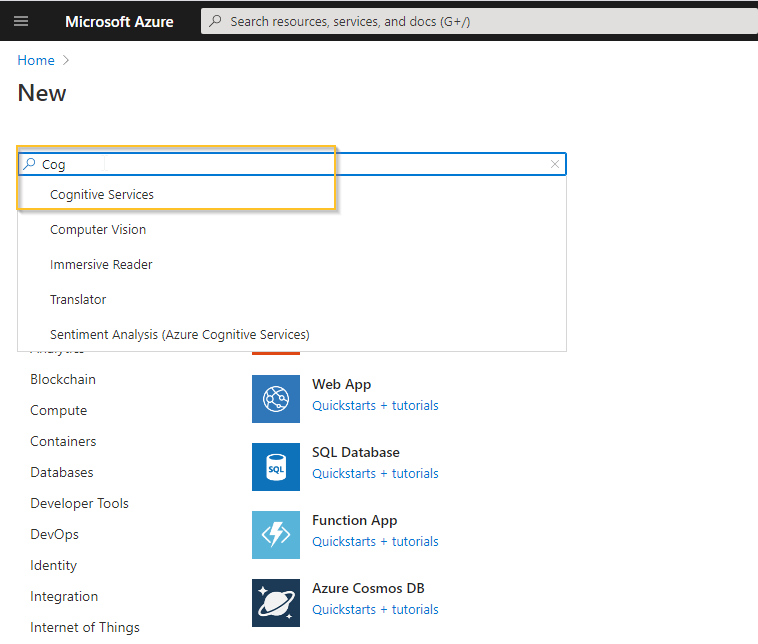
Azure Marketplace panel will be navigated, you can either search the azure services like “Cognitive Services” in search textbox. Now you can select the Cognitive Service in the search list.
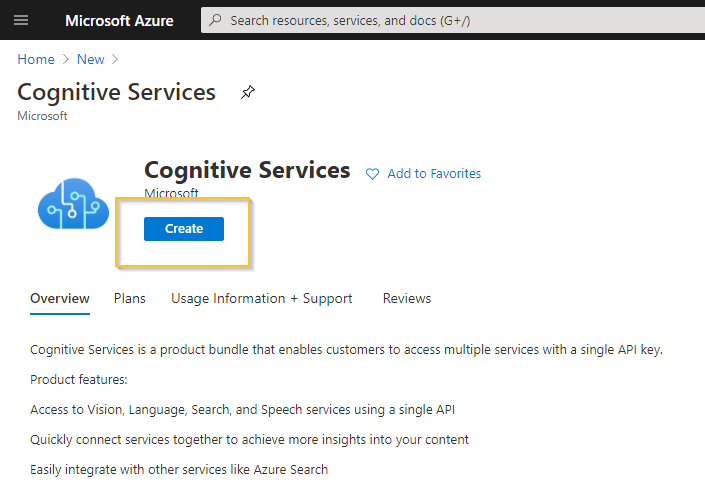
The Cognitive Services panel will be navigated and click the Create button.
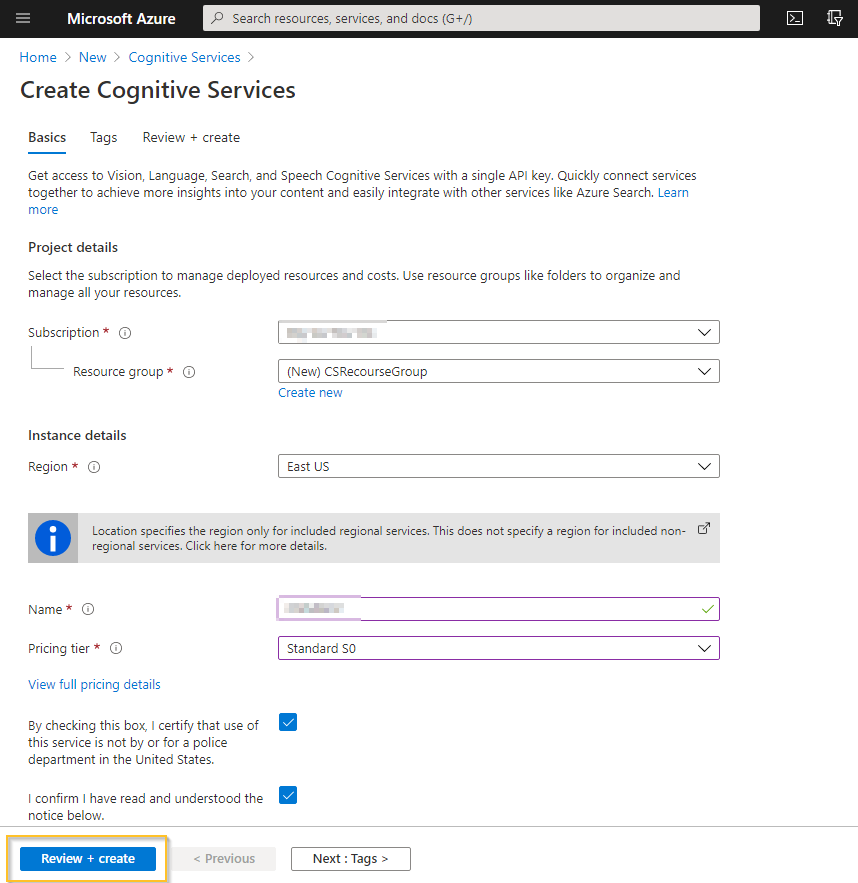
Create Cognitive Services panel will be navigated. You can enter the following parameters
- Subscription – your Azure Subscription
- Resource Group – Create a resource group with a unique name
- Region – Choose any available region
- Name – Enter the Unique Name
- Pricing tier – Choose based on your requirements (Recommend Standard S0)
Click the Review + Create button.
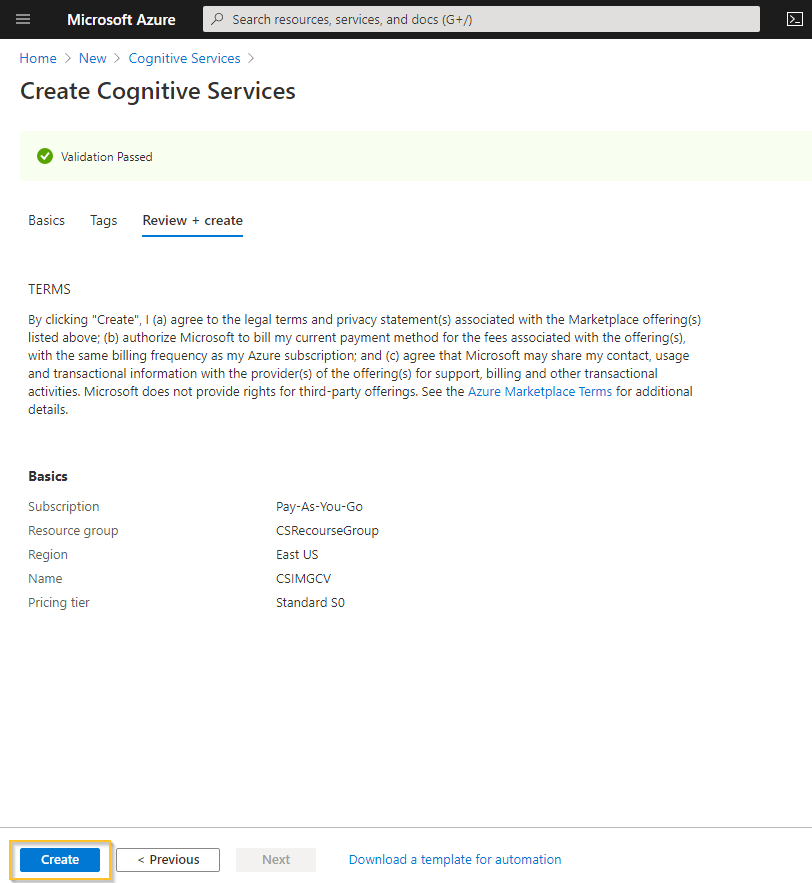
After successfully validation passed in the create cognitive services and click the Create button.
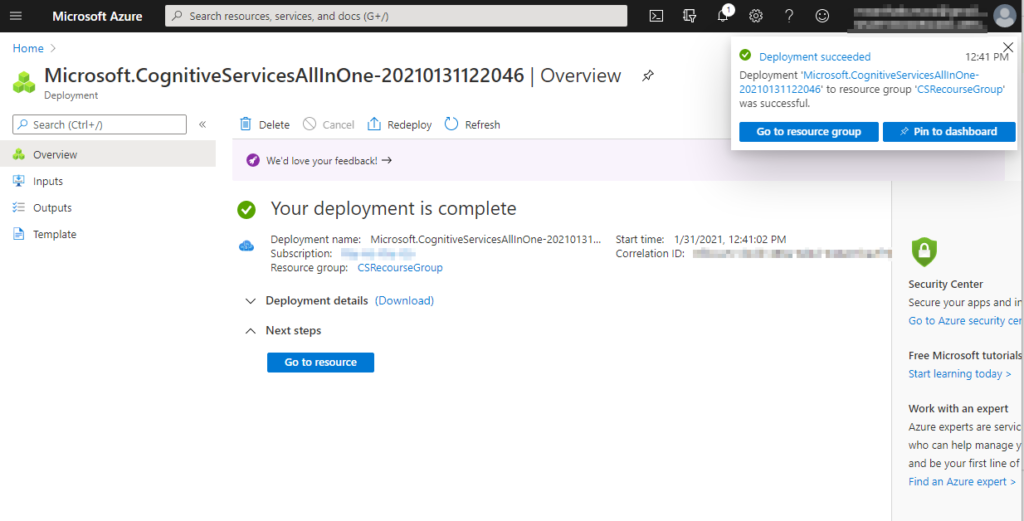
After successfully created cognitive services and deployment is completed.